Fit first
Test-fit each part before paint, adhesive, or permanent finishing.
A2ThreeD installation guide
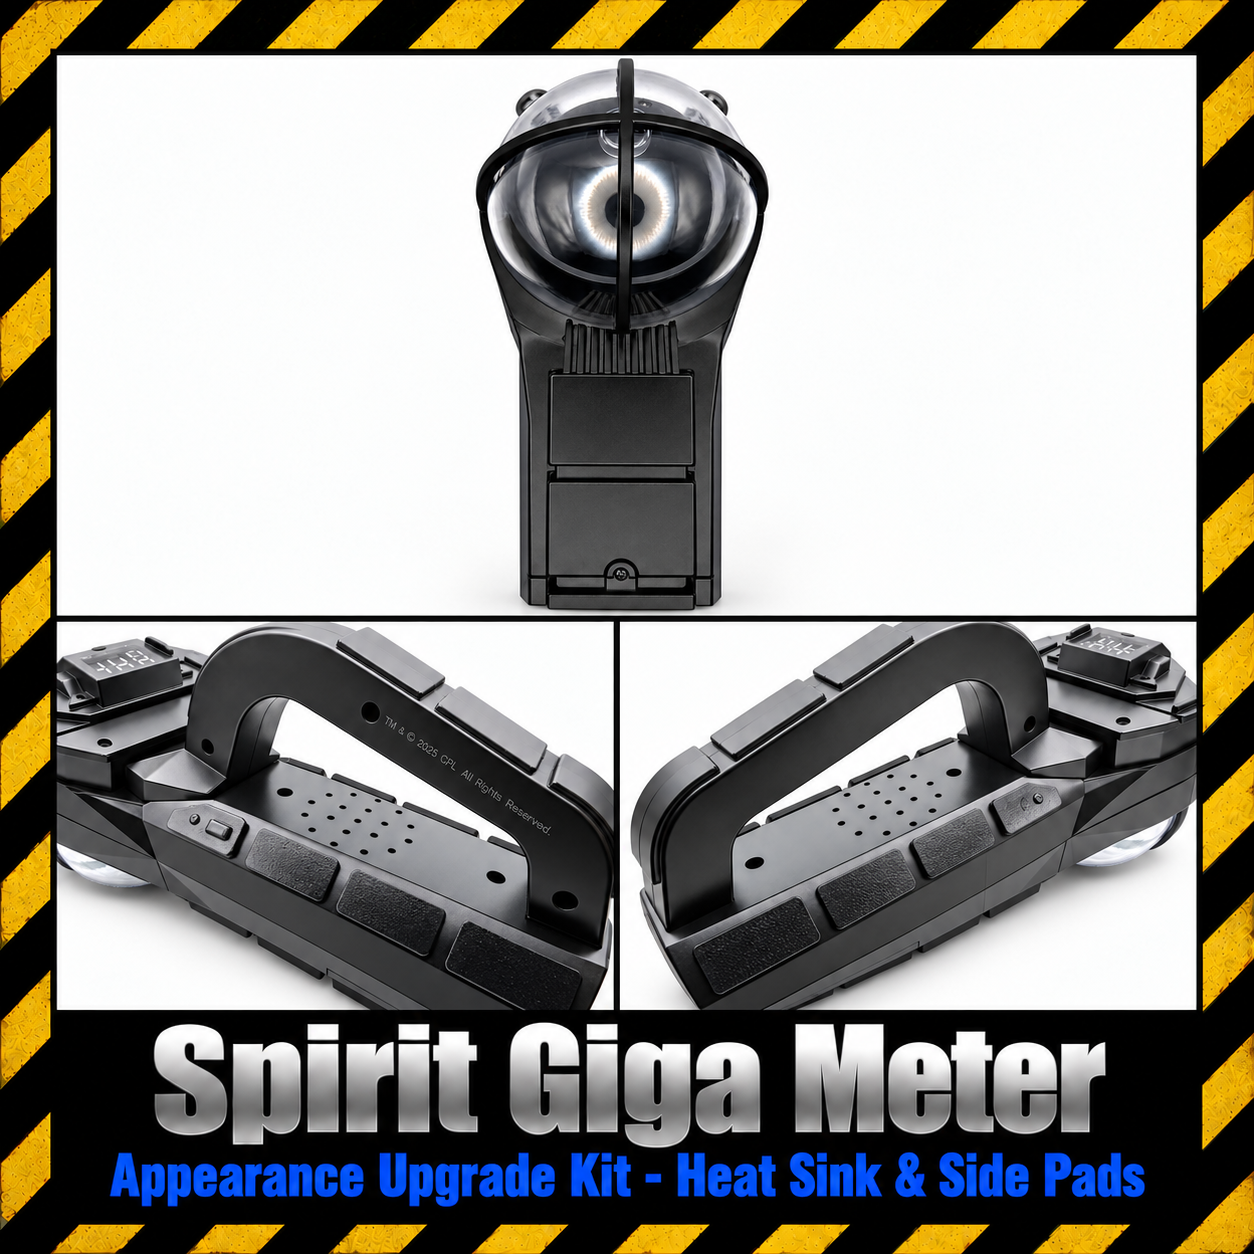
Printing, fitment, finishing, and installation notes for the Spirit Halloween Ghostbusters II Giga Meter.
Use this guide with the current STL/3MF appearance-upgrade collection. The designs are reference-inspired interpretations made to fit the Spirit version of the prop.
Test-fit each part before paint, adhesive, or permanent finishing.
Use the baseline FDM settings below and protect visible faces from support marks.
Paint or texture the parts to match your display build and preferred interpretation.
Before you begin
Power off the prop before working on it. The notes below describe the current appearance collection; they do not claim that every detail is an exact screen-used reproduction.
Printing
These are starting points for the current designs. Confirm your slicer preview and test-fit before committing to a full set.
Print most parts at approximately 0.16 mm layer height with around 15% rectilinear infill.
Enable ironing where your slicer and orientation allow it. A smooth build plate can improve the finished face of FDM parts.
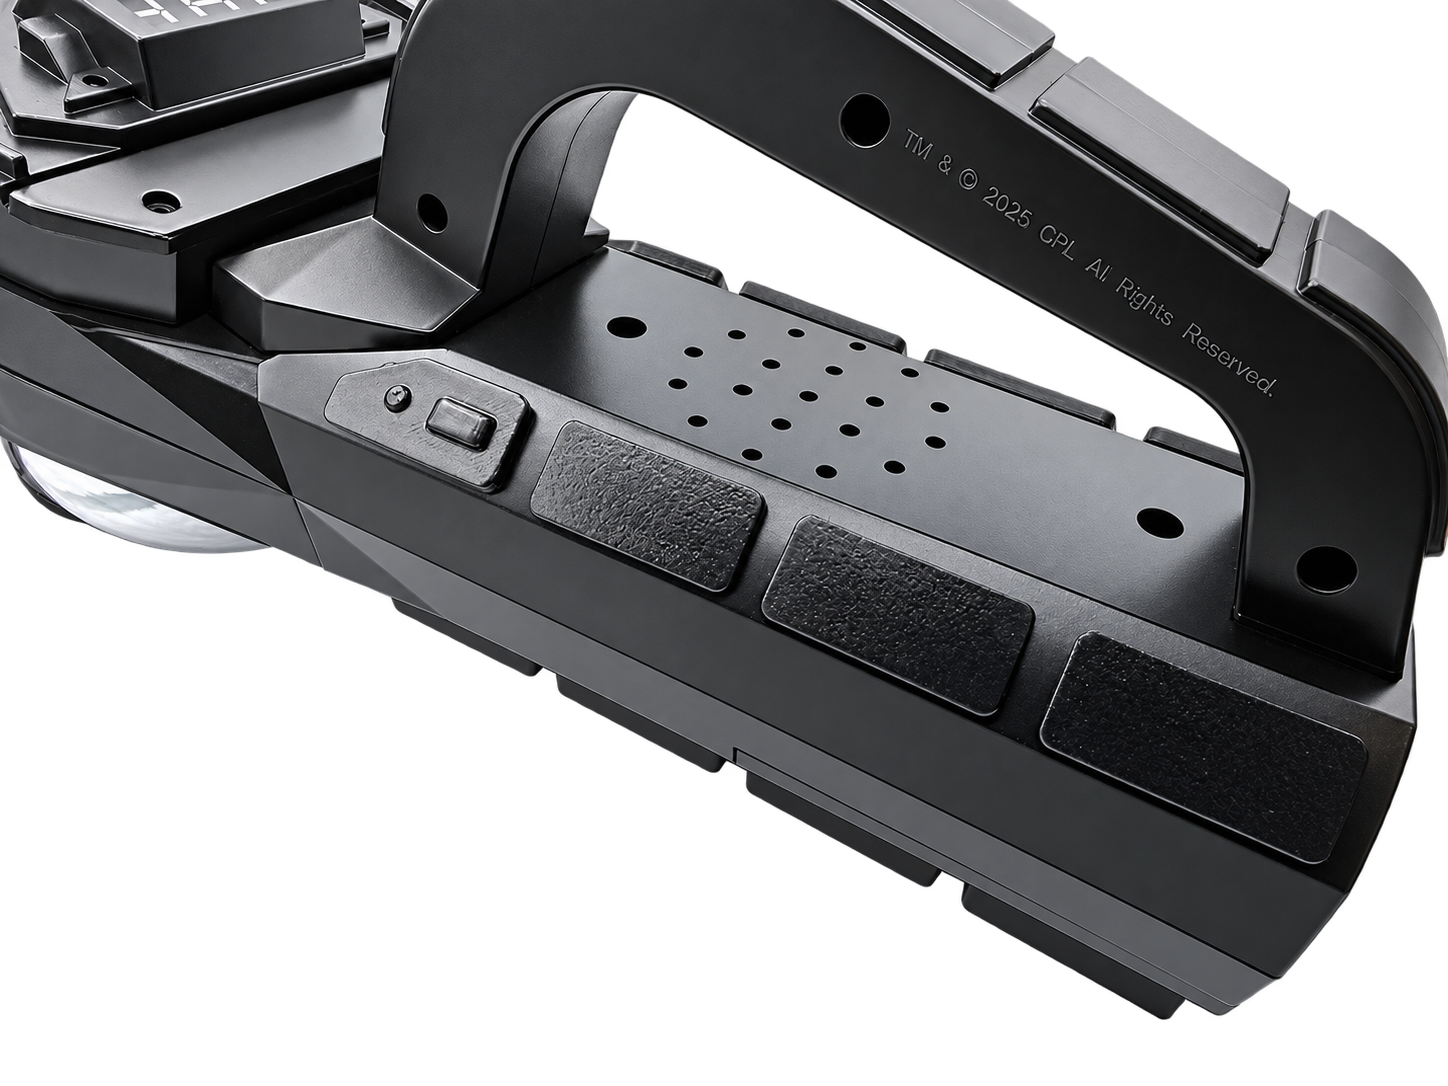
Print most pads face down on a smooth plate where practical. Protect the visible face from support marks and choose supports that are easy to finish.
Use a finer-resolution FDM print or resin when that better suits the part and your finishing workflow.
PLA or TPU are possible material choices. After printing, use gradual controlled heat to form the tread to the handle. Avoid scorching, distortion, and burns.
Installation
Part names below match the files currently present in the project folder. Work through the collection one area at a time.
Photograph or note the original orientation of the display, handle, rear panel, and side surfaces before removing or attaching anything.
Check the part against the Spirit body and neighboring details. Confirm that shell seams, screws, lenses, handles, and battery access remain clear.
Use the contoured side pads and the left/right tapered pieces to build the layered body profile. Match the contours before choosing an attachment method. The project notes do not prescribe one adhesive or hardware set, so test the material and reversibility you want on your own build.
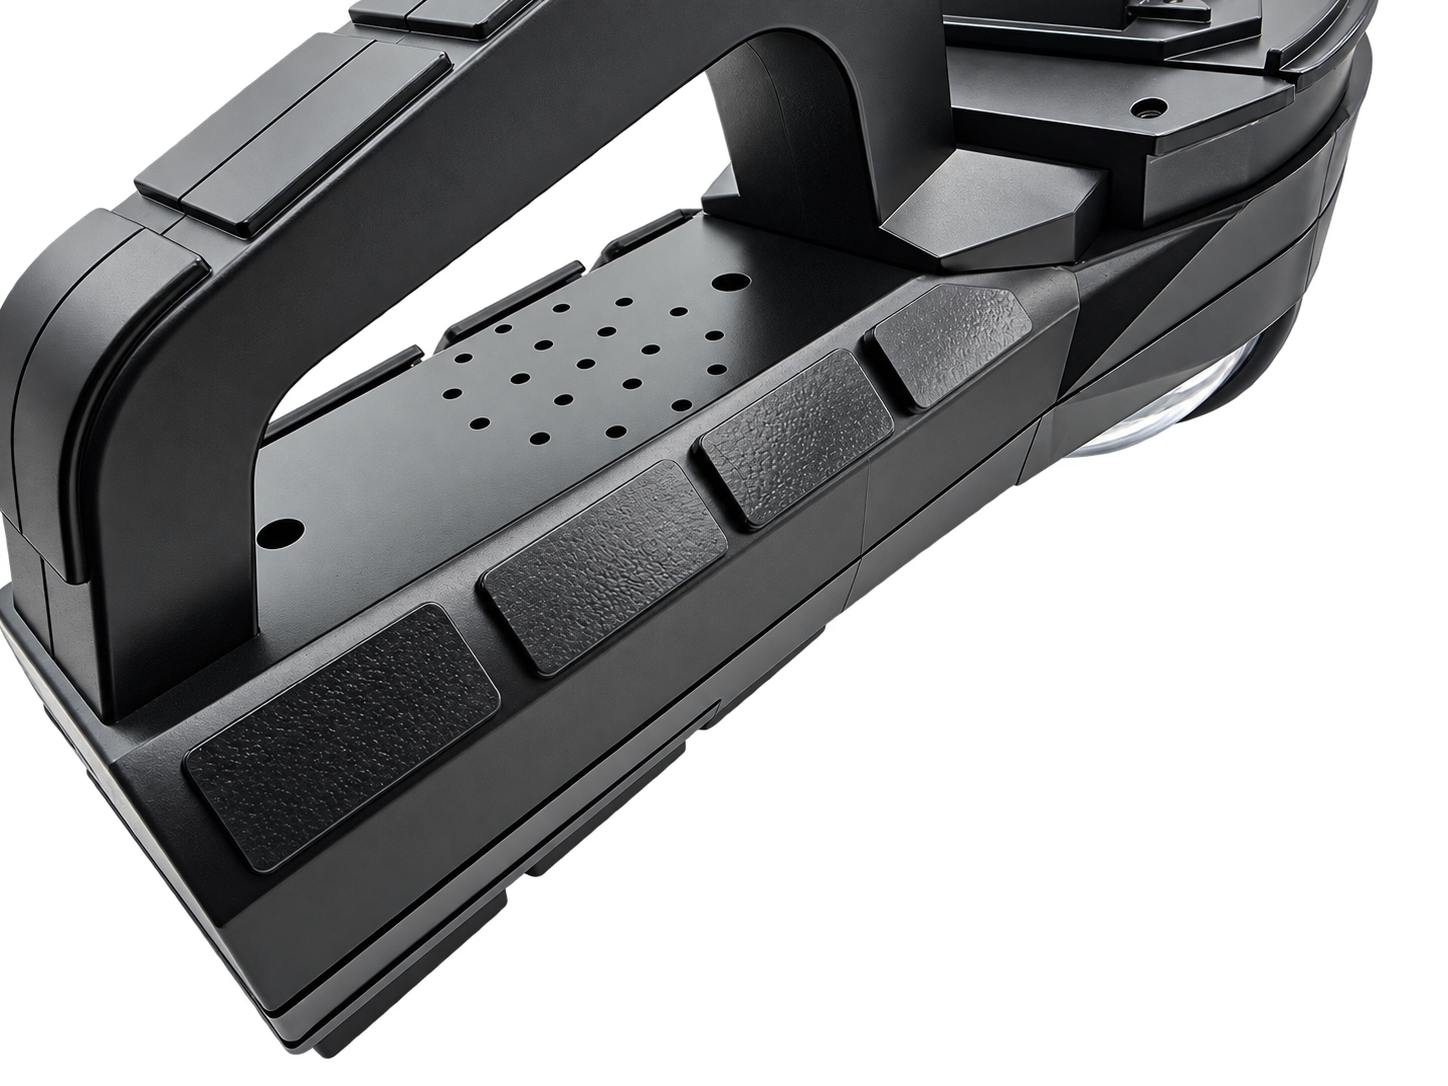
Align the ten-fin heatsink with the rear panel. Its multiple angles are intended to follow the Spirit body rather than a perfect triangle, so check the fit across the full contact surface.
Use the front-display axle/spindle details and side nubs to add mechanical surface detail. Compare the left and right sides before final attachment.
The collection includes a switch-style detail and a separate Ghostbusters-inspired knob option. These are functionality-inspired cosmetic interpretations unless you deliberately adapt one for a working control.
Warm the printed tread gradually with a heat gun and check the fit often. Keep the heat moving, protect the prop and your hands, and stop before the print softens more than needed.
After the fit is confirmed, finish the parts as desired. Check that the display, lens, handle, body seams, and controls still operate or access as intended.
Keep your unused variants and revision notes together. Photograph the completed prop so future fitment or finish changes are easier to reproduce.
Video resources
These videos cover the display lens and the main appearance package pieces. Use them alongside the written guide for printing, fitment, finishing, and installation.
Open the display lens installation video on YouTube · Browse all A2ThreeD videos
Open the main appearance package pieces installation video on YouTube · Browse all A2ThreeD videos
License and support
The personal-use license covers the original A2ThreeD digital design files and documentation. It does not transfer ownership or allow redistribution, commercial printing, resale, or derivative use without written permission.